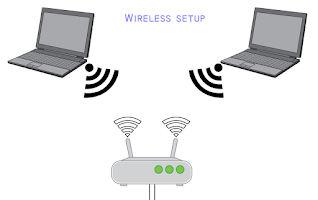
In this post, I will guide you on how to setup wireless on Epson EcoTank ET-2760 using the Control Panel.
- Before you start, make sure you have a wireless network already set up.
- Make sure the printer is not connected to your computer using a USB cable.
- Install Software on your computer, if you don't have the software, you can download the Drivers and Utilities package installer from this link.
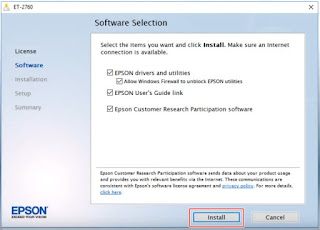
- On the software selection, check the item you want to install and then click Install. Wait until the installation complete.

- On this screen, select Set up printer for the first time, then click Next (windows), Continue (Mac).

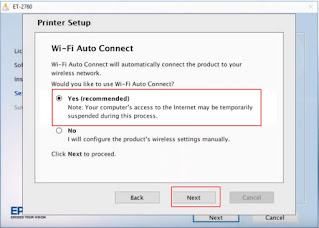
- On Wi-fi Auto Connect setup, select Yes(recommended), then click Next.

- Select using the control panel, then click Next.
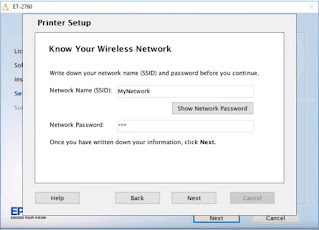
- Write down your network name (SSID) and password, then click Next.
- Start Wireless Setup on your Printer.
Done, here is how to setup wireless on Epson EcoTank ET-2760 using the Control Panel.
For more guide, you can download and read User Manual for Epson EcoTank ET-2760.


0 Response to "How to Wireless Setup Epson EcoTank ET-2760 Using the Control Panel"
Post a Comment